I read in Joanna Gaines' Magnolia Table, Volume I that her favorite comfort food is a cinnamon roll. Many of her breakfast recipes focus on cinnamon roll-type of pastries. I have heavily modified her Easy Orange Sweet Rolls recipe to be something I can whip up in just a few minutes. When I saw that it uses crescent rolls as the base, I was in! I'm all about easy recipes I can throw together for my kiddos on a weekday morning!
I was only using one pack of crescent rolls, so I cut Joanna's recipe in half.
What You'll Need:
1 package crescent rolls (I try to get the dough sheet that doesn't have perforations, but if it did have perforations, just press them together until it's one full sheet)
1/4 c plus 1 Tablespoon brown sugar
6 T softened butter
1-2 teaspoons ground cinnamon
Glaze:
1 c powdered sugar
1 T vanilla extract
Milk (enough to create the consistency of a glaze that you like best)
9" round cake tin
What You'll Do:
Preheat Oven to 375*. Spray cake tin with non-stick cooking spray.
Lay out the crescent dough sheet (press together the perforations if needed)
In a small bowl, mix brown sugar, butter, and cinnamon together with a fork until it forms a paste.
Spread this sugar mixture on the crescent dough.
Roll the dough starting on the long edge.
Cut into sections (I get about 12 small sections from one rolled up dough sheet).
Place rolls into sprayed cake tin. I put them close together, but not touching.
Bake for nearly 25 minutes.
While my rolls were baking, I got my glaze ingredients ready in a small bowl.
When the rolls were cooling, I added vanilla to my powdered sugar. I don't really measure vanilla extract and probably added about 3 tablespoons, which it why my glaze looks tinted slightly brown.
I drizzle in some milk to the bowl while I'm stirring it. Once I reach desired glaze consistency, I stop adding milk.
I actually added too much this time around since I was trying to take a picture while I was pouring in the milk.
Drizzle glaze over warm rolls.
You really can't mess this up, so even though my glaze was runny, it just ended up covering the rolls and adding a layer of glaze to the bottom of the pan. Not the end of the world. :)
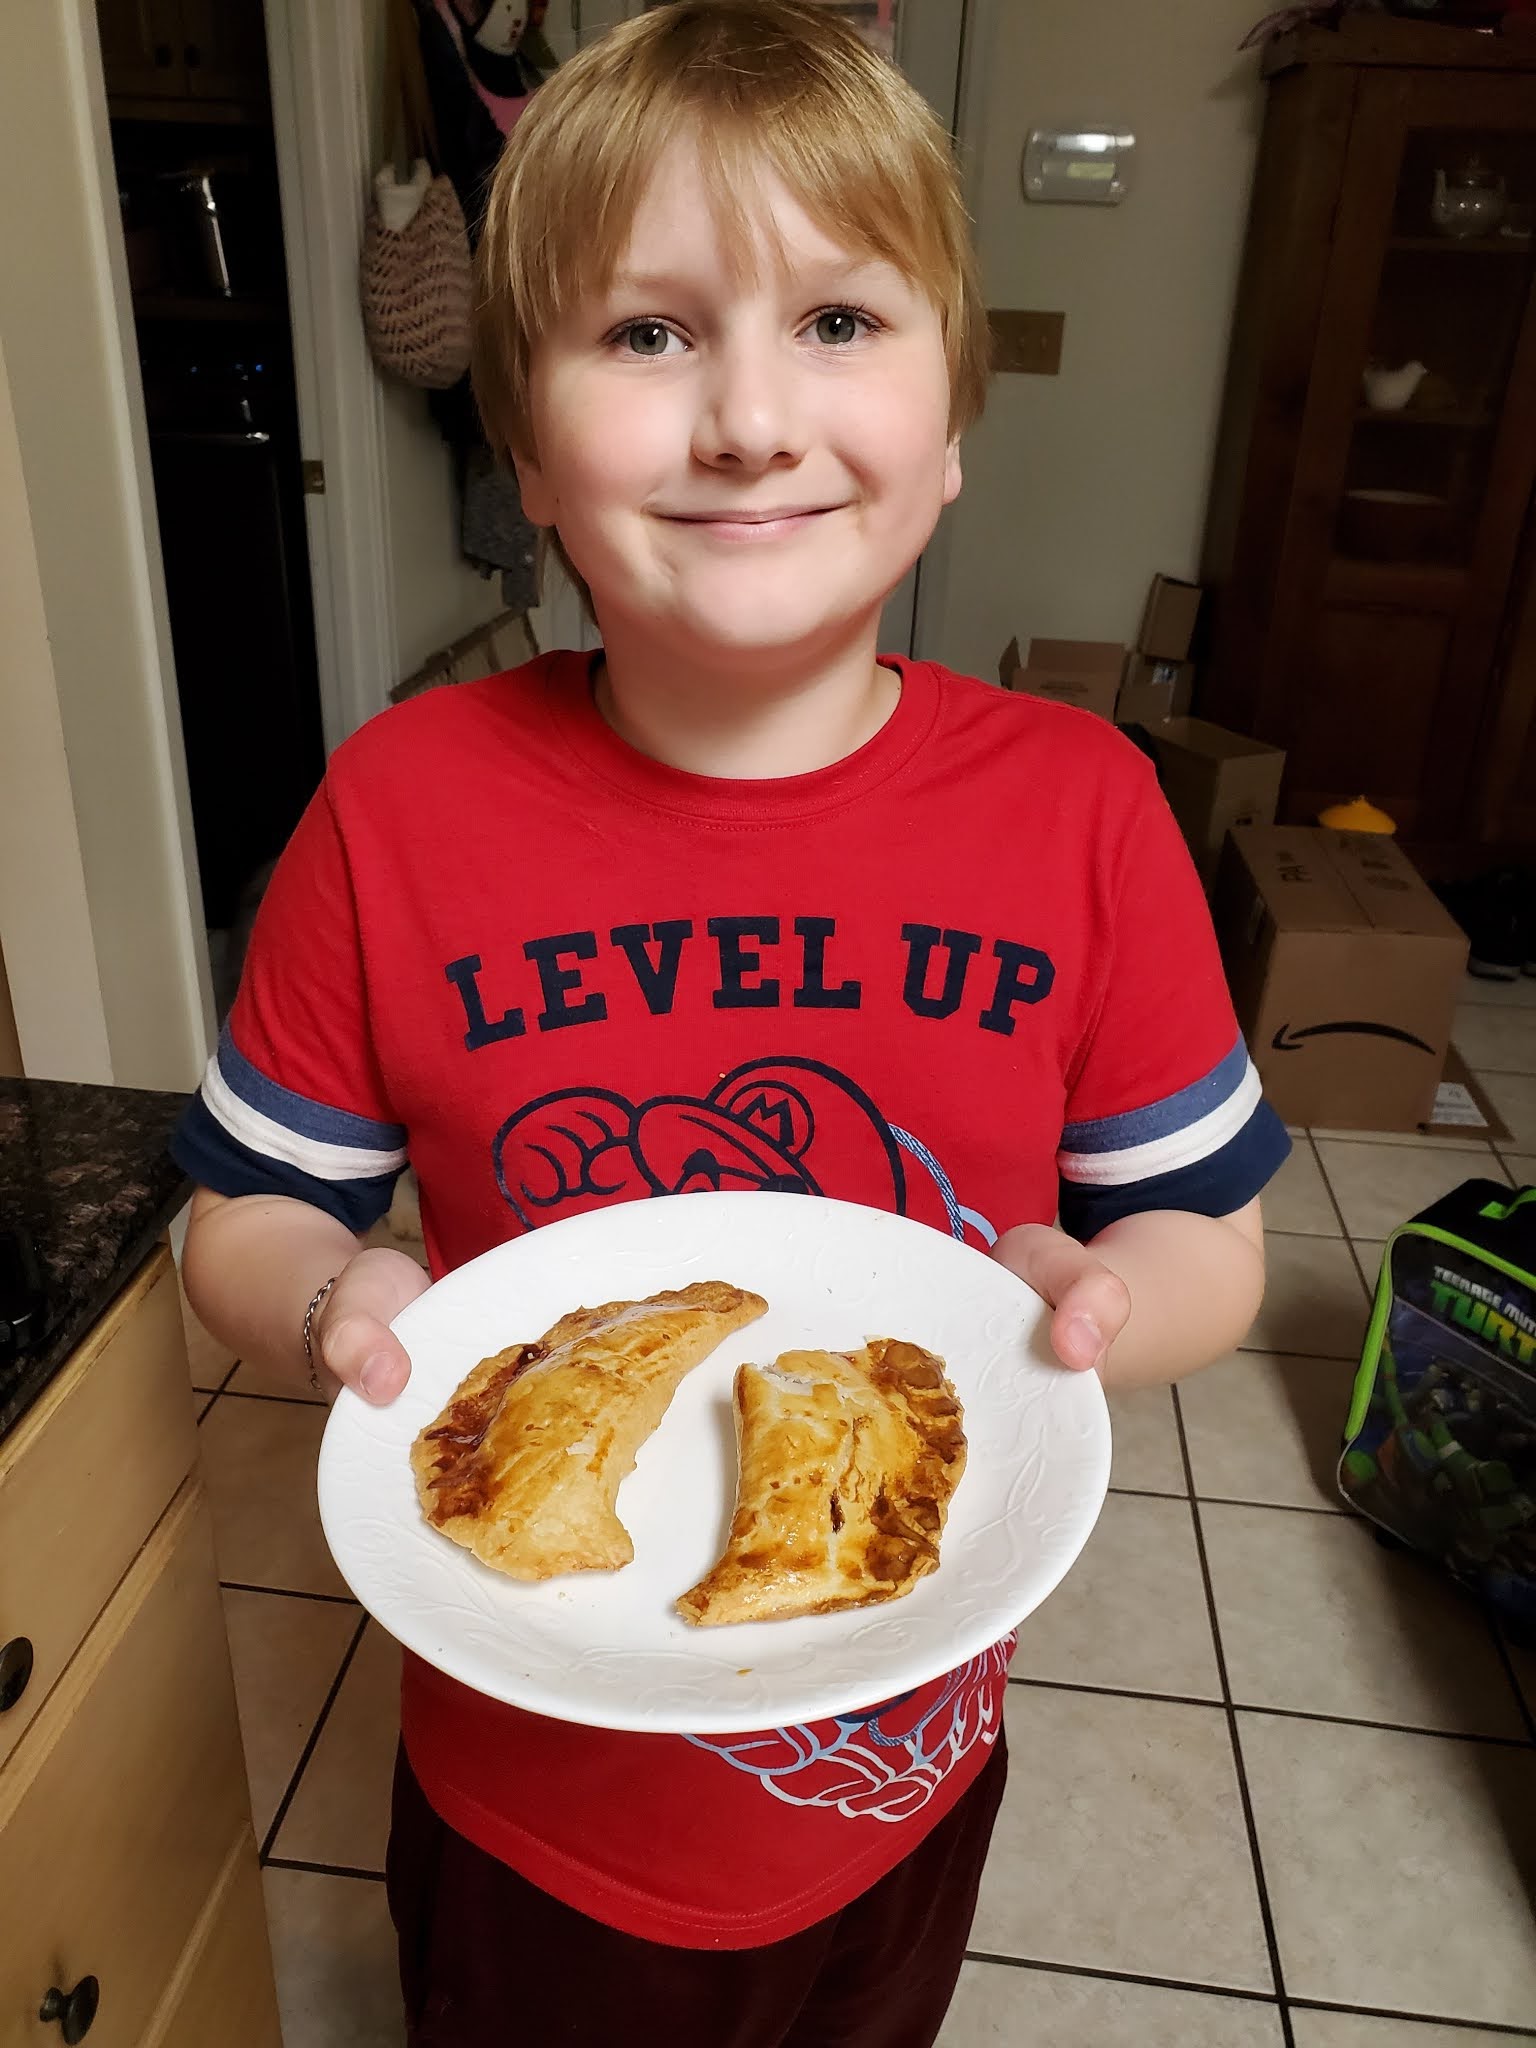
Serve warm!
Here's the recipe re-written without pictures in between.
What You'll Need:
1 package crescent rolls (I try to get the dough sheet that doesn't have perforations, but if it did have perforations, just press them together until it's one full sheet)
1/4 c plus 1 Tablespoon brown sugar
6 T softened butter
1-2 teaspoons ground cinnamon
Glaze:
1 c powdered sugar
1 T vanilla extract
Milk (enough to create the consistency of a glaze that you like best)
9" round cake tin
What You'll Do:
Preheat Oven to 375*. Spray cake tin with non-stick cooking spray.
Lay out the crescent dough sheet (press together the perforations if needed)
In a small bowl, mix brown sugar, butter, and cinnamon together with a fork until it forms a paste.
Spread this sugar mixture on the crescent dough.
Roll the dough starting on the long edge.
Cut into sections (I get about 12 small sections from one rolled up dough sheet).
Place rolls into sprayed cake tin. I put them close together, but not touching.
Bake for nearly 25 minutes.
While my rolls were baking, I got my glaze ingredients ready in a small bowl. When the rolls were cooling, I added vanilla to my powdered sugar. I don't really measure vanilla extract and probably added about 3 tablespoons, which it why my glaze looks tinted slightly brown. I drizzle in some milk to the bowl while I'm stirring it. Once I reach desired glaze consistency, I stop adding milk. I actually added too much this time around since I was trying to take a picture while I was pouring in the milk. You really can't mess this up though, so even though my glaze was runny, it just ended up covering the rolls and adding a layer of glaze to the bottom of the pan. Not the end of the world. :) Drizzle glaze over warm rolls.
These are fantastic while they're hot, but they also do well heated up. I can't say how long you could store them because they never make it past a day over here. Enjoy!
Until Next Time,
Much Love, Reba